
Do you want visitors to your website to be able to Pin your awesome content to Pinterest? It’s the perfect way of generating traffic and a Pin It button is the easiest way for people to Pin your content.
In this quick and easy tutorial I’m going to show you how to install a Pin It button on your WordPress website in 2 EASY steps.
Step 1 – Install the Pinterest “Pin It” Button
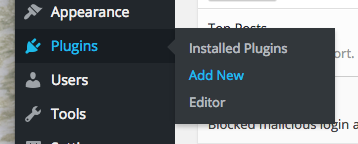
On your wordpress site, go to Plugins > Add New
In the search bar, type in: Pinterest “Pin It” Button (see below)

Hit Enter to start searching. (Note: if you don’t want to search for the plugin, click here to download the .zip file)
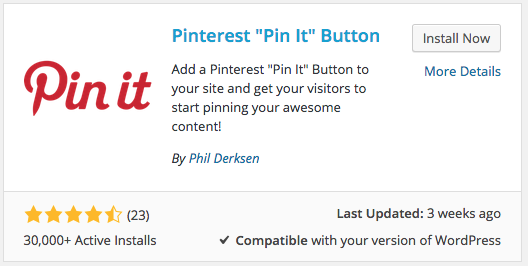
This might be no.2 on your search results and it’s the one you want. Click Install Now and activate the plugin.
Step 2 – Configure Your Pin It Button
Once the plugin is activated you will see this message along the top, click Setup your Pin It button now.

You’ll be taken to the following screen where you can customise your options.
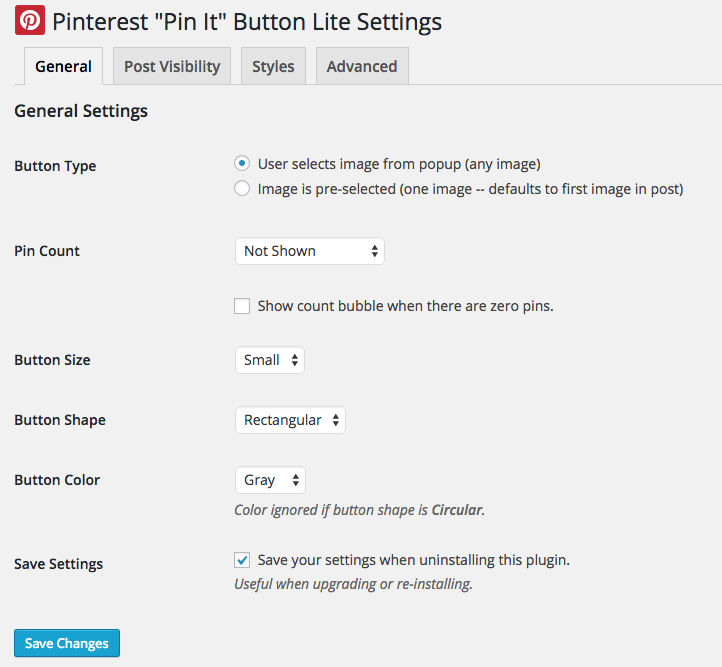
Above is what it has by default and it’s what I’d recommend for a beginner. If you want to customise it’s look, where people see it and more; see the various tabs along the top. If you’re happy with the default settings, click “Save Changes”.

That’s it! In 2 Easy Steps you have yourself a Pin It button on your website and the ability for visitors to Pin your content on their boards – cool eh?
If you want amazing Pinterest articles sent to your inbox, sign up to our newsletter. Why not? It’s free 🙂